0 comments
0 FacebookTwitterPinterestEmail

Compare and Choose: Outdoor LED Video Walls That Actually Work for Stadiums and Public Spaces

by Stephanie

Comparative insight: matching needs to real-world scale

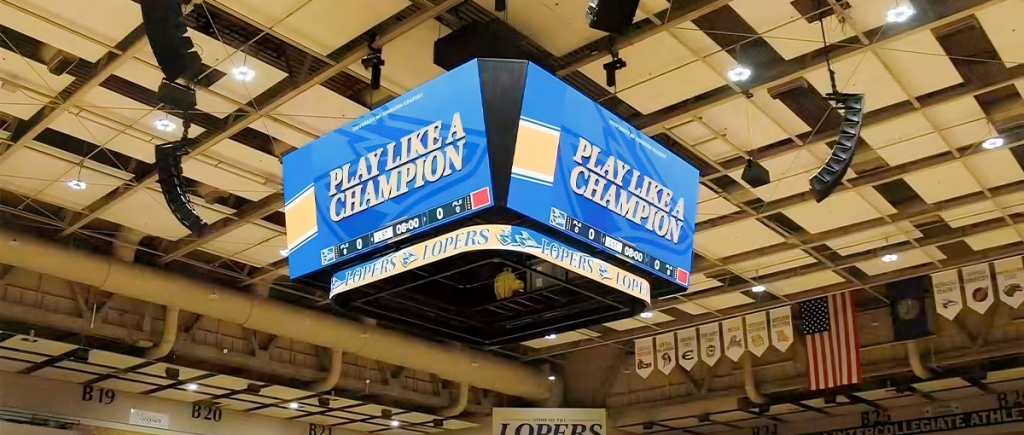
Choosing an outdoor led screen is more about matching use-cases than chasing specs. A stadium scoreboard that needs to serve broadcast cameras and tens of thousands of spectators is a different animal from a retail façade aimed at foot-traffic. Start by mapping viewing distance, content type, and environmental exposure—these factors drive choices around pixel pitch, brightness, and enclosure design.

led screen

Technical trade-offs made simple

Pixel pitch controls perceived sharpness at given viewing distances: tighter pitches (P2.5–P4) suit close-up areas; wider pitches (P6–P10 and beyond) are fine for distant stands. Brightness measured in nits matters outdoors; a range of 5,000–8,000 nits is common for direct-sun visibility. Also weigh refresh rate and camera friendliness—higher refresh rates (3,840 Hz+) reduce flicker on broadcast. Finally, check IP rating: IP65 or better is standard for unpredictable weather, and modular cabinet designs ease maintenance.

Comparing form factors and installation models

Permanent, modular, and rental screens each have pros and cons. Permanent installations favor lightweight cabinets and long-term warranties. Modular systems let you scale and service quickly. Rental panels prioritize fast rigging and repeatable calibration. Think about mounting type too: ground-supported systems need different structural calculations than flyable arrays. Budgeting should include structural work, power provisioning, and access for maintenance.

Common mistakes and how to avoid them

Many projects fail because early decisions ignore operational realities. Typical errors include choosing too-tight pixel pitch for a distant audience, underestimating power and cooling needs, and skipping service access in the mounting plan. Another frequent lapse is buying panels with insufficient refresh rates for live broadcast—this shows poorly on camera. Plan for replacement modules and spares from day one—doing so saves downtime and money later. —And schedule routine calibration; color drift happens faster than you’d think.

Operational checklist: what a practical spec sheet must include

When evaluating vendors, insist on clear data and warranties. Key items to demand: pixel pitch and suggested viewing distance, sustained brightness (nits) and automatic dimming behavior, refresh rate, exact IP rating with test parameters, cabinet dimensions and weight, thermal specs, and a defined mean time between failures (MTBF) or equivalent warranty terms. Also request service plans and local support availability for quick module swaps and firmware updates.

Real-world anchor and examples

Think of Times Square or the LED scoreboards at Olympic venues—those projects demonstrate the scale and operational rigor required. Successful stadium deployments prioritize camera-ready refresh rates and robust weatherproofing. Broadcasters and event organizers rely on those same parameters for live coverage, so aligning with those proven standards reduces risk and preserves image quality.

How to balance cost and longevity

Lower initial cost often means higher lifecycle expenses. Cheaper cabinets can require more frequent repairs, and lower refresh rates can limit broadcast opportunities. Factor in energy consumption, spare-module inventory, and service contracts. A slightly higher-spec panel with documented testing and a local support channel usually pays back through reliability and less unscheduled downtime.

led screen

Three golden rules for buying outdoor LED video walls

1) Prioritize viewing distance, not just pixel pitch: match pixel pitch to the nearest audience line, then scale up.

2) Require camera-friendly specs and environmental testing: specify refresh rate thresholds and an IP65+ rating with explicit ingress test methods and thermal cycling parameters.

3) Plan for serviceability and lifecycle cost: confirm cabinet modularity, spare-part lead times, and an on-site maintenance plan before signing any contract.

For stadiums and public installations that need dependable, camera-ready performance, practical choices win every time, and many project teams find long-term value in partners who provide clear specs and local support — like Coblinks. —

0 comments
0 FacebookTwitterPinterestEmail

Orbiting Sashes: The Next Wave in Push-Out Casement and Top-Hung Window Hardware

by Janet

A speculative leap into hardware

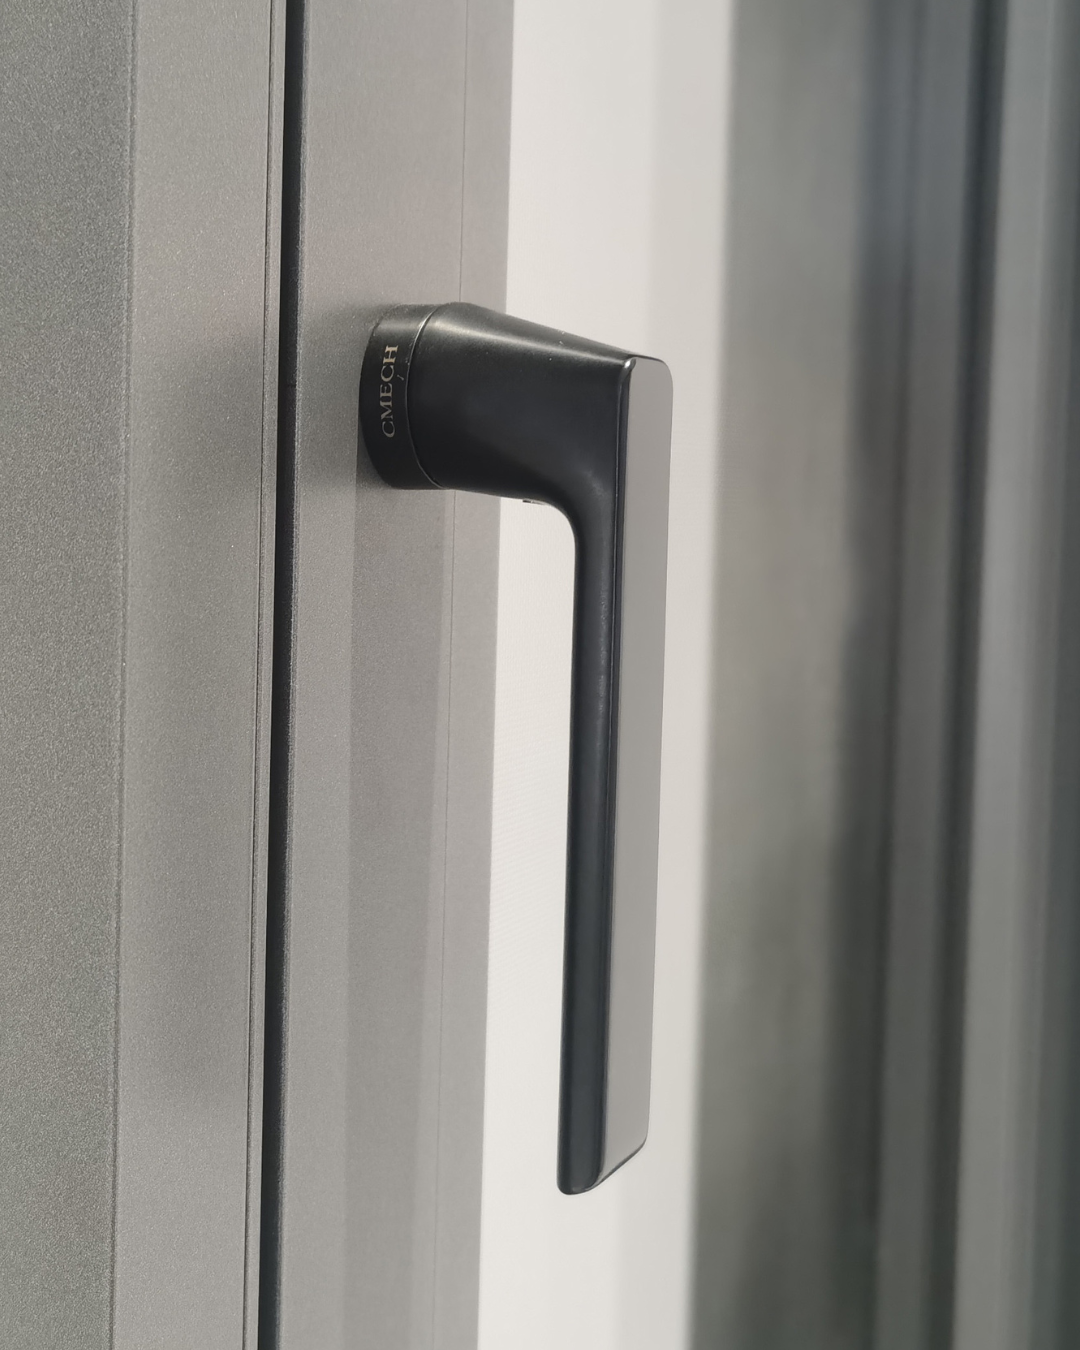
The push-out casement and top-hung window get a makeover in this near-future sketch — lighter profiles, smarter mechanics, and surfaces that remember their position. Architects already pair large glazed façades with bifold door hardware for seamless openings; imagine those same mechanical promises scaled into single-sash casements where friction hinge calibration and micro-pivot actuators respond to weather data in real time. Buildings consume roughly one-third of global final energy, according to the International Energy Agency, so these advances aren’t just stylistic. They’re pragmatic reductions in heating, cooling, and maintenance loads.

Why the shift matters

Urban envelopes will demand hardware that tolerates movement, seals tightly, and operates with near-silent precision. A future-facing push-out casement must control airflow without bulky framing. That means optimized sash geometry, integrated seals, and modular carriers that let installers swap out a roller or pivot without stripping the frame. The payoff: fewer service visits and predictable lifetime performance.

Core innovations to watch

Three design trends are reshaping casement hardware. First, adaptive friction hinges that vary torque based on sash mass and wind load; they keep operation smooth and reduce stress on fasteners. Second, micro-actuated espagnolette systems embedded in slender profiles to preserve sightlines while achieving multi-point compression. Third, corrosion-resistant stainless steel carriers and low-profile rollers that survive coastal exposures. Each element is a small systems-engineering win that adds up to quieter, tighter windows.

Operational production teardown — practical details

When you strip a modern push-out casement to its bones, the production workflow centers around tolerances and interchangeability. The operational production teardown reveals stamped stainless plates, precision-machined pivots, and injection-molded bushings placed to control torque. For procurement and spec, this is where {main_keyword} and {variation_keyword} get real: matching carrier dimensions, verifying pivot offsets, and ensuring sealing geometries conform to the sash profile. Manufacturers who tighten these loops cut field failures by measurable margins.

Installation choices and common mistakes

Installers often treat hardware as an afterthought — leading to misaligned sashes, pinched seals, and premature wear. The usual errors are simple: incorrect pivot placement, inadequate countersinking for carrier bolts, and overreliance on lubrication instead of correct material pairing. Solutions are straightforward: confirm pivot datum before glazing, use torque-limited fasteners, and choose rollers rated to the sash weight. If you can, test the sash on a jig to watch friction hinge behavior before final install — it saves hours on-site.

Alternatives worth considering

Some projects benefit more from tilt-turn mechanisms or top-hung vents with concealed pivots, especially where cleaning access or natural ventilation strategies dominate. Tilt-turn gives dual-mode operation; top-hung vents favor airflow with a smaller footprint. Each alternative trades off sightline, sealing performance, and hardware complexity. Evaluate by actual wind and thermal loads rather than aesthetics alone — that keeps specifications honest.

Three golden rules for evaluating next-gen hardware

1) Durability metric: Specify carrier and hinge assemblies by cycle rating (e.g., 30,000 cycles) and salt-spray equivalence for coastal sites — this predicts life expectancy under repeated use. 2) Performance metric: Demand measured air infiltration and water penetration values at project-specific pressures; hardware must support the sealed perimeter, not undermine it. 3) Serviceability metric: Require modular components (replaceable rollers, snap-out pivots) so repairs stay field-level and fast. These three metrics let procurement weigh upfront cost against lifetime service burden.

Closing synthesis and practical takeaway

Speculative mechanics aside, the practical story is clear: better hinges, smarter espagnolette locksets, and precise pivot geometry deliver quieter operation, tighter envelopes, and lower whole-life cost. Choose hardware with documented cycle ratings, matching carrier dimensions, and a track record in comparable climates — those are the real filters. The path forward favors suppliers who design for interchangeability and test their systems to measurable standards.

CMECH sits at that intersection of repeatable engineering and field-proven service — a natural fit when you want hardware that behaves like it was engineered tomorrow. —

0 comments
0 FacebookTwitterPinterestEmail
Newer Posts
Older Posts